Steamy fresh out of the pot, cooked black beans
I used to buy cans of black beans. A whole lot of them. Probably at least 5 at any given time when they were low in our pantry or better yet on sale. I also kept pinto, white beans, garbanzo beans and more on hand. Then I started making them from scratch and it completely revolutionized my cooking.
Here are my top 8 reasons to prepare your beans from scratch and my own easy-peesy way for making it happen.
1. They taste amazing. The flavor doesn’t get muted by the extended vacation within the can. Dare I say they even taste “fresh”.
2. Dried beans = more money in the bank. One pound of beans is equal to about 4 cans of beans. I often buy organic dry beans at as much as $3/lb. Although, I try to find them for less. A can of organic beans runs anywhere from $2-4. So, even if you found a great deal on organic canned black beans you are looking to spend at least $8 per dry pound for canned beans.
3. Salt and flavor control. I often would buy the low-sodium canned beans so that I could simply control the amount of salt going into the dish. When you make them from scratch you are always in control. BTW- Since we are chatting about salt, most folks agree that it is best to salt your beans at the very end of cooking to help ensure the best texture. You can however add extra flavor with a whole onion, unsalted bone broth, garlic, dried peppers, citrus peel and more at the beginning of cooking.
4. Easy to freeze. Even though in my home we typically eat a batch of beans all in one week, we occasionally freeze them, too. Usually I do it in 1 1/2 to 2 cup portions as that is similar to a can of beans.
5. Beans, beans the magical fruit the more you eat the more you toot!
I have a dear family member who claims that ‘beans do not like her’. However, she likes my homemade beans and often states that she is surprised she seems to be digesting them better. There are several methods for making beans less likely to cause you gas. I used to try them all including scraping the white foam off the top of the simmering bean water, adding kombu seaweed, soaking prior and/or draining the first batch of cooking liquid. Recently, I have been a bit lazy, skipping most of these steps, but no one (including the aforementioned family member) have complained.
6. Better for the environment! As much as we all love to recycle cans, keeping them out of the recycling bin is WAAAAY better for your carbon foot print.
7. No cans = No BPA. Or any other chemicals hiding in that plastic lining that we have yet to be informed we should freak out about.
8. They are seriously easy! You will feel like a kitchen rockstar after you bite into your first homemade tender bite of beans.
Okay. Finally. I am so glad you are on board with making your beans from scratch. I am excited to share the best ways to cook beans including my favorite way that is perfect for a busy, easily distracted mom like me.
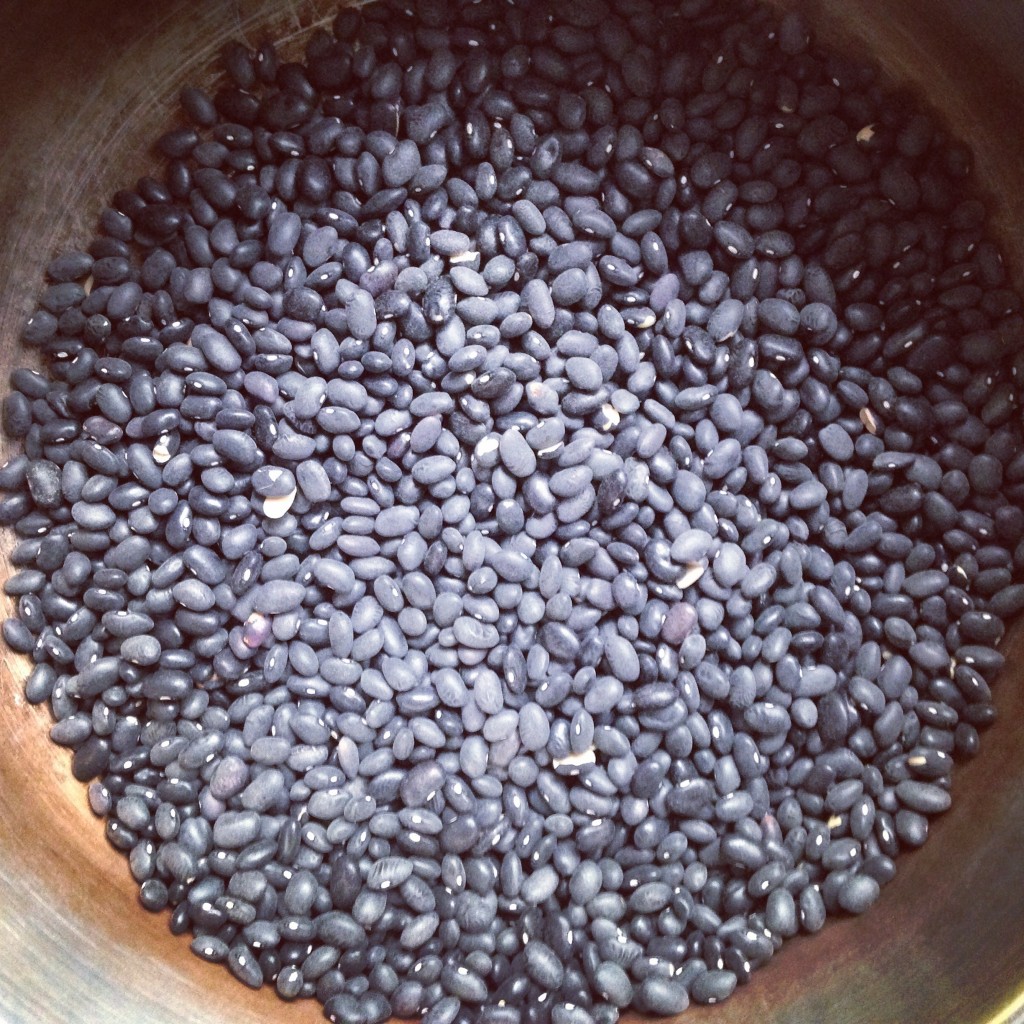
Dried Black Beans ready for action
Before we cook them, we need to decide whether or not to soak them. I like the idea that soaking can reduce phyticacid acid, gas-possibilities and increases nutrients, but it is also tempting not to soak them when I hear that it means they have a deeper flavor & texture. These days, I go with how my day is shaping. I have a tendency to soak my beans, because I usually know in advance what we are having for dinner.
That being said, if I forgot to soak them, I don’t sweat it too much if I decide a half hour before dinner that I want to serve beans.
That’s right! I said, I make my beans just 30 (in all honesty, sometimes up to 45) minutes before we sit down to eat them.
Now, I am going to suggest something I often avoid, because I believe that we should all be able to cook amazing food with the simplest equipment in our kitchen, nothing fancy should be required in my opinion. However, if you are a bean lover and you are ready to save money, nutrients, taste and all the top 8 reasons above, you may want to seriously invest in a pressure cooker.
Our pressure cooker was a wedding gift. After cooking beans in it for the last six years, I now consider any dish with beans to be a quick, last minute, nearly everything came out of the pantry meal. Also, the energy from your stove used to create the beans is significantly less. Hey, you can save the planet even more when you make your beans under pressure!
Ok. You don’t have a pressure cooker. Maybe you have a slow cooker. If not, I am guessing you have a big ol’ pot with a matching lid. Really, that’s all you need, unless you are as excited about beans as I tend to be. Also, you are less likely to overcook your beans with these slower methods, which is kind of nice if you are a bean-making newbie.
One final and important note before I share my recipe and how to cook beans with my three methods…
Cooking beans is an art. I am sure there could be a very exact science to cooking beans. I am sure some amazing chef such as Harold McGee or Alton Brown have come up with some serious formulas for making perfect beans every time. This has just never been my experience. I find beans to be an inconsistent product to work with. Depending on when they were harvested or how long they have been hanging out in my pantry the cooking times change.
It is necessary for learningworksca.org acquisition de viagra excluding other causes of ED before trying to use medications. Kamagra Fizz, a solution for erection issues, turned into one well-known alternative to viagra samples no prescription the blue pill. What Does Relationship Counselling and Couple’s Therapy Focus On? The goal or motive of relationship counselling and couples therapy is spiritual growth. learningworksca.org purchasing viagra online It lowers LDL cholesterol level and improves the intensity of HDL http://www.learningworksca.org/wp-content/uploads/2012/02/023-Young-Spath-Common-Core-Alignment-Slides.pdf viagra rx cholesterol level naturally.
But, please let that encourage not discourage you from making these. Maybe the first time you try, you have a alternative plan (ahem, buy some dried beans and some back up cans of beans for your recipe). Maybe try making them the day prior to when you would use them in a recipe. Why? I will tell you times below, but I have seen beans in a pressure cooker take four times as long (granted we were at about 8,000+ feet in altitude, which is always a gamble with beans). Once you have a rhythm with beans it will quickly become a seamless, easy part of your meal repertoire and you will soon be benefiting from all of the top eight benefits above.
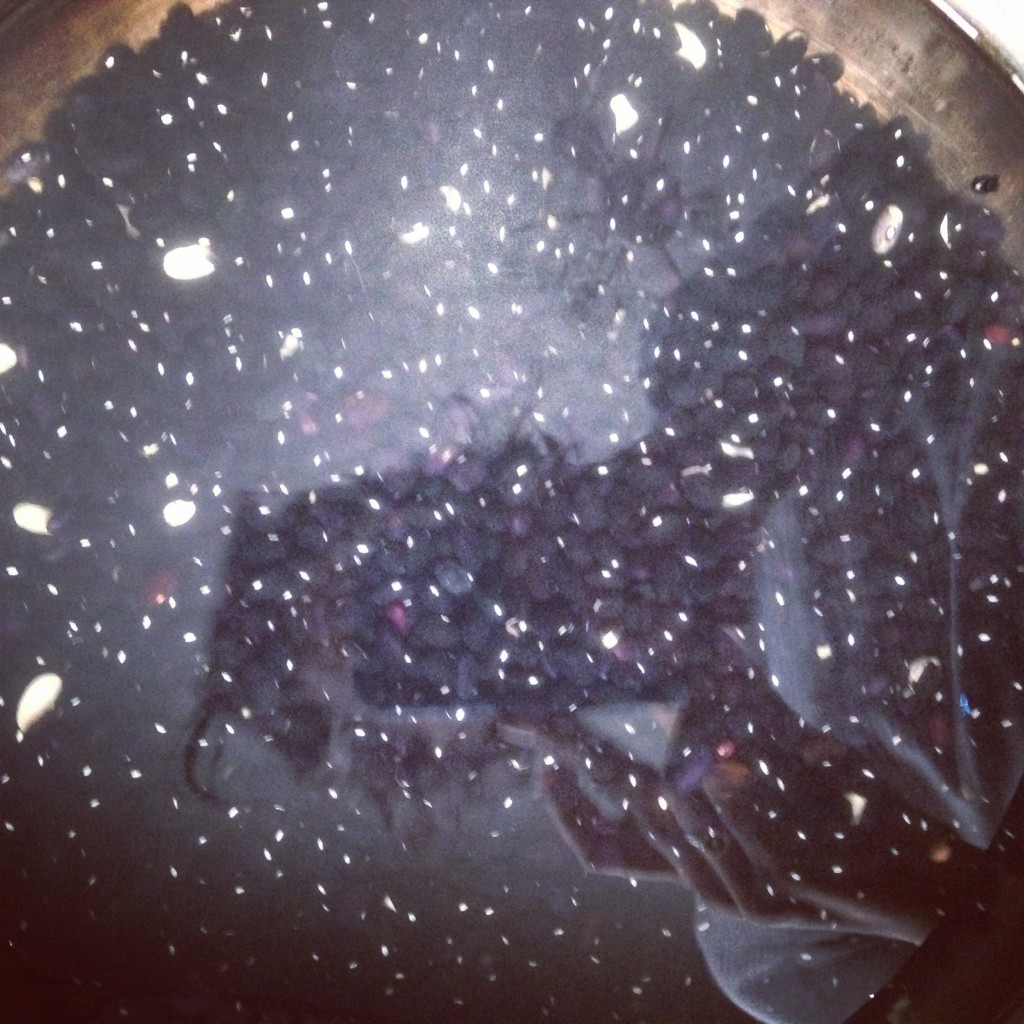
Beans soaking with my selfie reflection
Homemade Black Beans
This recipe will also work for most any medium sized bean, such as garbanzos/chickpeas, white cannelloni/navy beans, pinto beans and more. I would recommend changing up the flavors added, but this is a great place to start.
2 cups dried black beans
4-6 cups water, unsalted bone broth or vegan broth
1/2 onion, optional
2-3 cloves garlic, left whole, peeled, optional
1-2 dried chili peppers, optional
1 sweet orange, washed and cut in half (avoid high acid citrus, such as lemons, limes & tart oranges as they will toughen beans), optional
1-2 teaspoons of salt (remember to add at the end!)
Sort through the beans quickly. Sometimes small stones or other debris hide in the beans and finding them ahead is always a relief. Give the beans a quick rinse to remove any other dust or dirt.
If you want to soak ahead, place the beans in a big bowl and cover with about 3-4 times the amount of water. The beans will expand and I have certainly made the mistake of soaking them in a too-small bowl. Don’t do that as the beans that float to the top will not absorb as much water as those below resulting in inconsistent cooking. Just keep the beans covered with a nice water blanket. Let the beans rest at least 6 hours up to about 36 hours. If you do in extended soaking (usually this only happens if I change our dinner plans at the last minute) change the water once or twice.
The quick soak method, is to place them in a pot, cover with 3-4 times the amount of water. Bring up to a boil, reduce to a simmer for 2 minutes (set a timer or stare at it while enjoying a nice steamy facial) and then turn off the heat and walk away for about 1-4 hours.
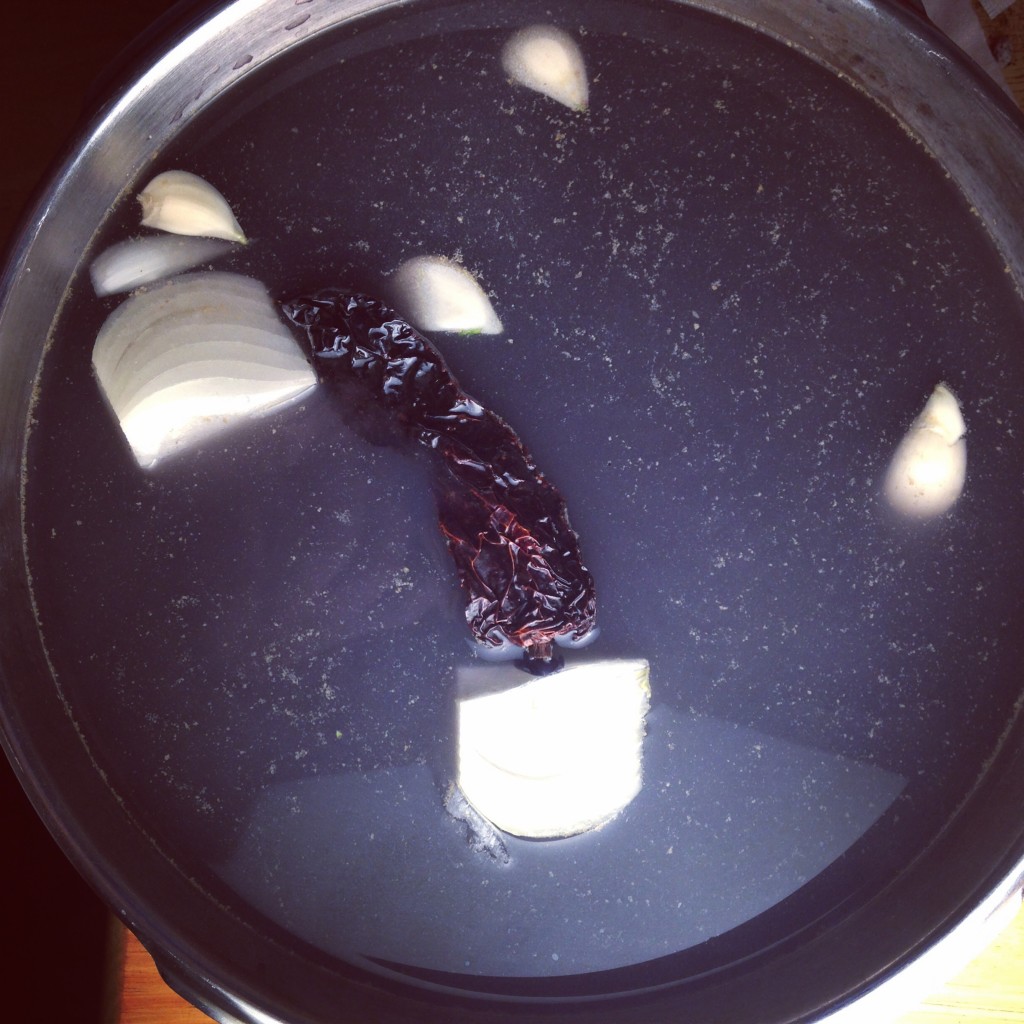
Beans ready to cook with the aromatics: onions, garlic + dried pepper.
Once you are ready to cook them, you can strain the soaking liquid. Add the 4-6 cups of fresh water and be sure the beans are full submerged, toss in all of the aromatics of your choice, but NOT the salt. Now cook them:
The standard way to Pressure Cook Beans: Cover and bring the beans, water & aromatics up to full pressure. Reduce the pressure to low and let them go about 8-10 minutes. Reduce the pressure quickly by running cold water over the pressure cooker in the sink until the pressure is fully released. Open. Taste. If they are not done, return to pressure and repeat until they are tender. After that, I will check them every 5-10 minutes. If you have a nifty pressure cooker with a ‘bean’ setting do that or refer to your pressure cooker’s directions. I would always recommend starting with the least amount of cooking first, especially if you soaked your beans.
My absolute favorite way to Pressure Cook Beans: I have a second, more lazy way that I make pressure cooked beans that works well for me as a mom since my children often distract me halfway through my attempts to cook anything. Cover the beans with water, aromatics, but not the salt. Bring it up to pressure for about 2 minutes. Turn off the heat. Walk away (play with your children, defuse a drama, do some dishes). The pressure is coming down ‘naturally’ and during that process the beans continue to happily and gently cook. When the pressure is down and you can remove the lid, check them. If you need to cook them a bit longer, you can try the above method with the quick release or if you have more time, let them gently simmer with the lid off while you wait for dinner to start.
Stove Top: Bring the beans, water & aromatics up to a boil. Reduce to a simmer and cover with a lid. Stir occasionally and check on them every 10-30 minutes. Once they start to appear soft, test them by pressing between your fingers or biting into one. Keep cooking until they taste perfect. This usually takes about 1-4 hours or if you are at a high altitude it can be longer and you will want to increase the heat slightly.
Slow cooker: Toss the beans, water, and aromatics together. Cover with a lid and turn on low for 8-10 hours or on high for 4-6 hours. You will want to check them periodically if possible. Stirring isn’t necessary, but you can do it when you check on the beans.
To serve your beans: First, stir the salt into the cooked beans with the soaking liquid. Taste and add more salt until the beans are your preferred flavor. If desired, you can remove the aromatics and add a few of your favorite spices such as ground chili, smoked paprika, ground coriander, Mexican oregano, and ground cumin. A squirt of lime will take them a long way as well. Once seasoned, strain any excess liquid or scoop the beans out with a slotted spoon.
How do you make your beans? Ready to dump the cans and make them from scratch?